






Sharing Knowledge


%20(1)%20(1).png)
If you know basic JavaScript and ES6 or using any single page application JS framework and want to learn React JS, this roadmap is for you.
⋅⋅* Concept of Props
⋅⋅* Concept of States
⋅⋅* React life-cycle
⋅⋅* Form Elements in ReactJS
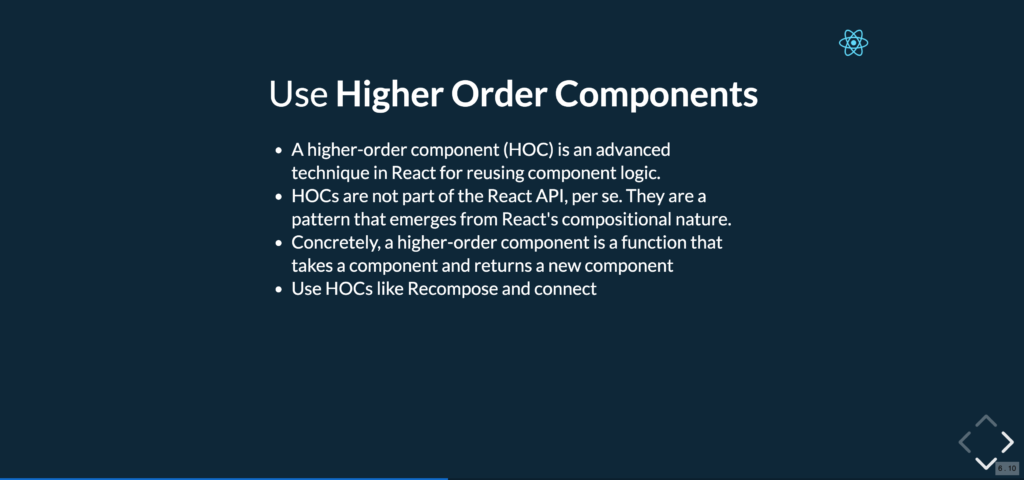
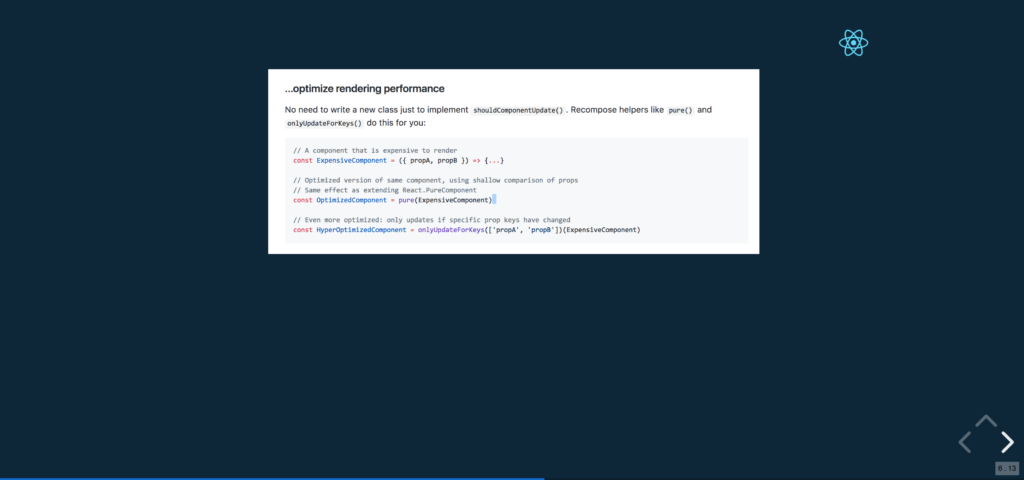
⋅⋅* Higher Order Components eg Pure Component
⋅⋅* axios
⋅⋅* fetch
⋅⋅* Redux (Majorly used)
⋅⋅* Mobx
⋅⋅* Redux Form (Majorly used)
⋅⋅* Formix (Trending)
⋅⋅* Redux-Saga
⋅⋅* Redux Thunk
⋅⋅* Hooks
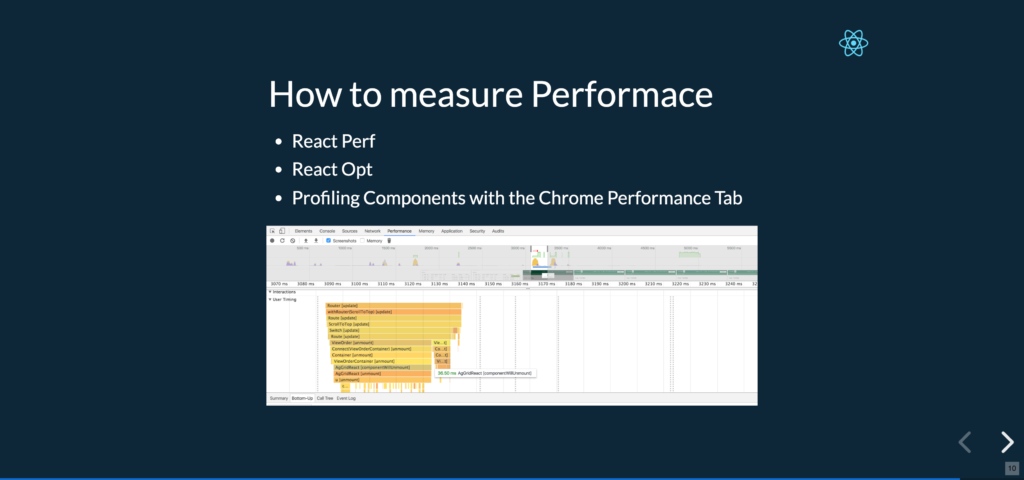
⋅⋅* How to measure
⋅⋅* Gochas
⋅⋅* Improvements
⋅⋅* Jest
⋅⋅* Enzyme
⋅⋅* react-helmet
⋅⋅* react-aria-live
⋅⋅* react-a11y-announcer
⋅⋅* Focus Management
⋅⋅* eslint-plugin-jsx-a11y
⋅⋅* SCSS
⋅⋅* Styled Components
⋅⋅* EmotionJS
⋅⋅* Glamour
⋅⋅* Next JS
⋅⋅* After JS
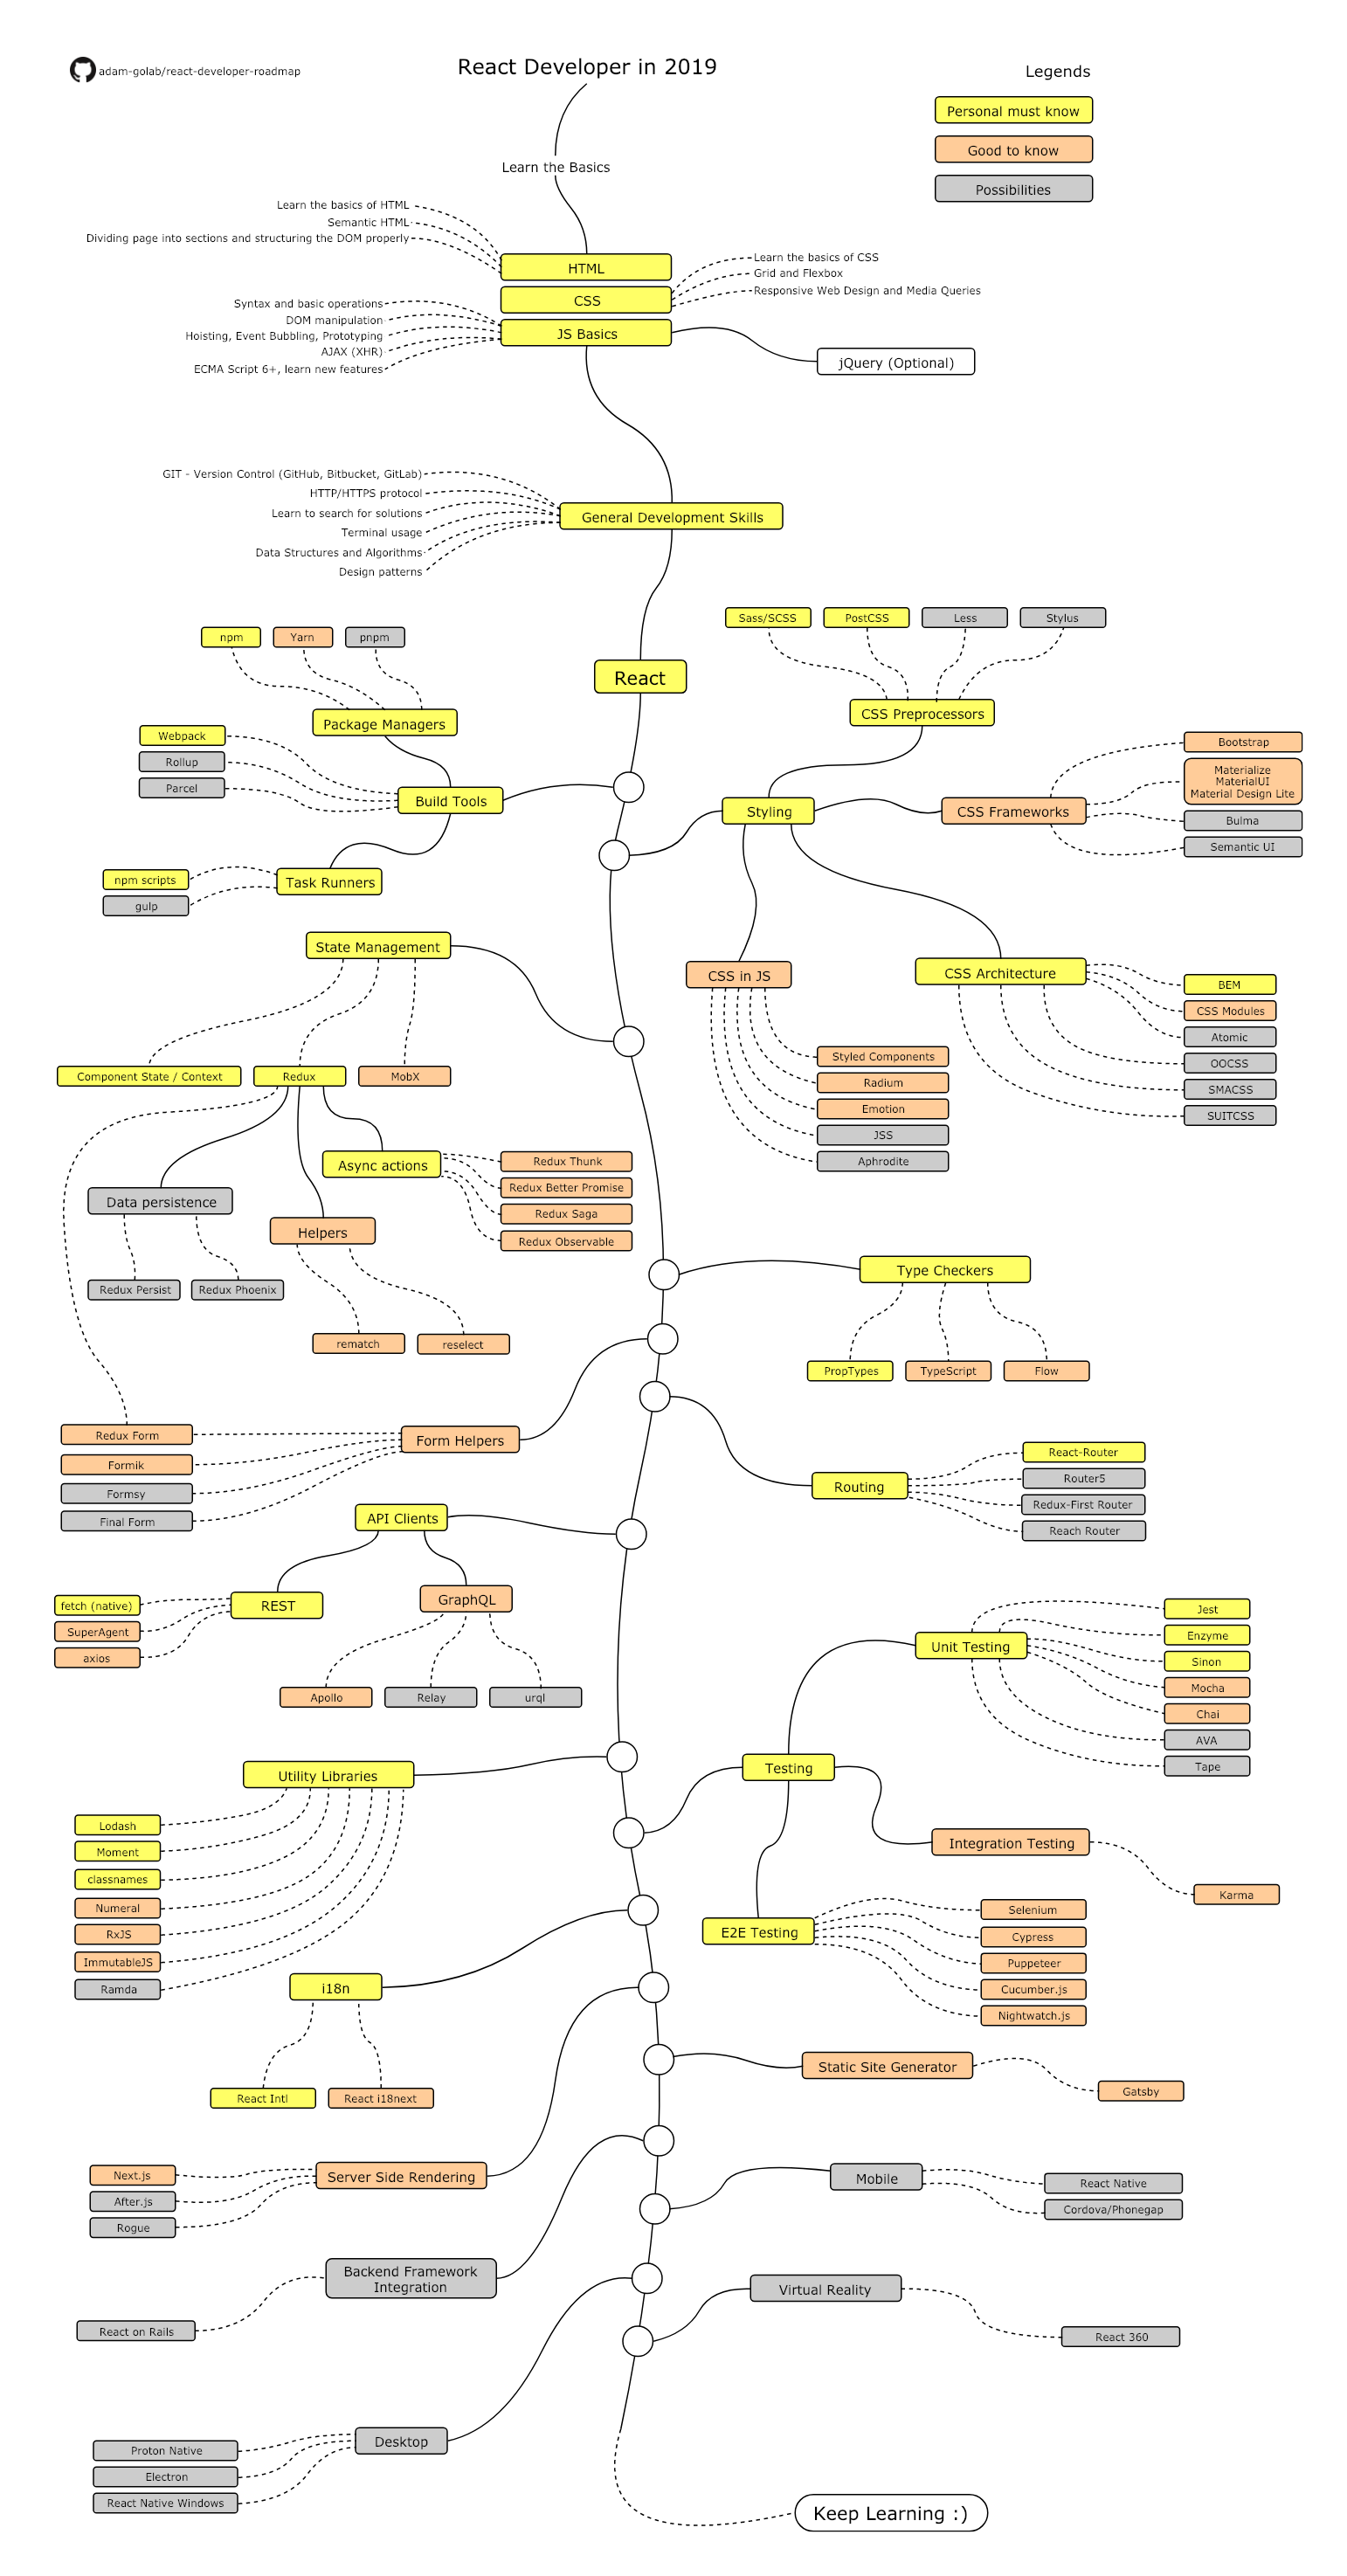
Credit: github.com/adam-golab/react-developer-roadmap
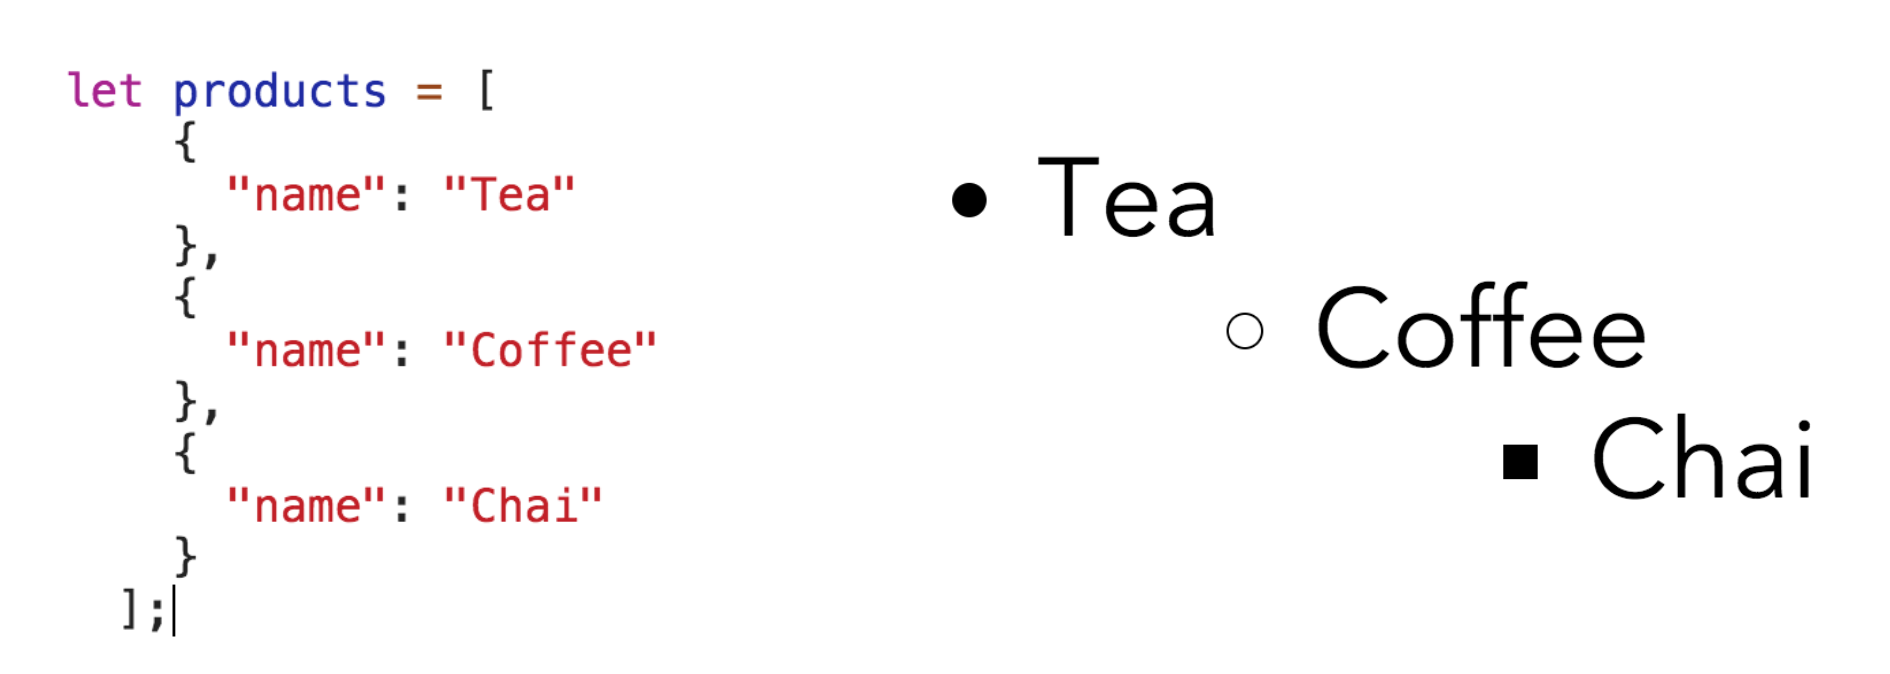
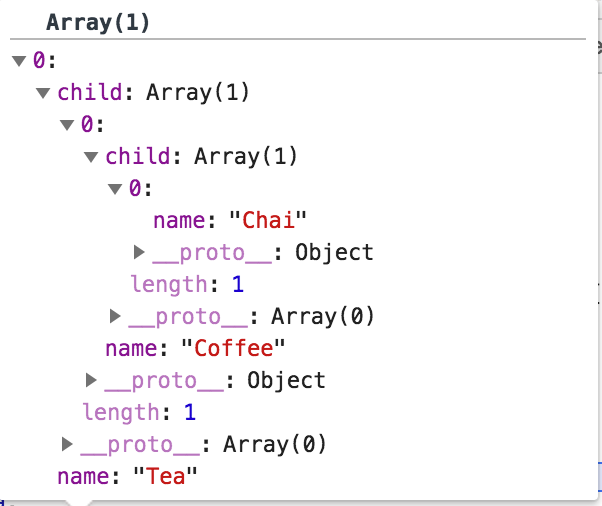
First step is to convert flat array into Hierarchy
const hierarchy = products.reduceRight((child, obj) => {
 if (child) {
  return [Object.assign({}, obj, { child })];
 }
 return [obj];
 }, null);
This will return
const renderHierarchy = child => child.map(hierarchy => (
 <Node node={hierarchy}>
 {hierarchy.child}
 </Node>
));
Node.jsx
import React from ‘react’;
import PropTypes from ‘prop-types’;
const propTypes = {
 children: PropTypes.array,
 node: PropTypes.object,
};
const defaultProps = {
 children: null,
 node: <div />,
};
export default function Node({ children, node }) {
 let childnodes = null;
// the Node component calls itself if there are children
 if (children) {
 childnodes = children.map(childnode => (
 <Node node={childnode} >
 {childnode.child}
 </Node>
 ));
 }
// return our list element
 // display children if there are any
 return (
 <li key={node.id}>
 <span>{node.name}</span>
 { childnodes ?
 <ul>{childnodes}</ul>
 : null }
 </li>
 );
}
Node.propTypes = propTypes;
Node.defaultProps = defaultProps;
Test your output


https://github.com/balramsinghindia/after.js/tree/example-with-afterjs-styled-component
I recently started using After.js and quite honestly, I have to say, After.js is an awesome tool. It gives you many out of the box features. Overall it is one of the perfect solutions for server-side rendering.
Styled component is a full, scoped and component-friendly CSS support for JSX (rendered on the server or the client), and while this is great, I rather use styled components, it’s just my preference.
After.js bundle has a basic example of server-side rendering but that does not include implementation of Styled components.
This guide will explain step by step implementation of styled component on top of the example given in After.js bundle.
Step 1: Run example of After.js
yarn global add create-razzle-app
create-razzle-app --example with-afterjs myapp
cd myapp
yarn start
Step 2: Add Styled components in the package.json dependency list
yarn add styled-components --save
Step 3: Create the custom Documents.js file
// ./src/Document.js
import React from 'react';
import { ServerStyleSheet } from 'styled-components'
import { AfterRoot, AfterData } from '@jaredpalmer/after';
export default class Document extends React.Component {
  static async getInitialProps({ assets, data, renderPage }) {
    const sheet = new ServerStyleSheet()
    const page = await renderPage(App => props => sheet.collectStyles(<App {...props} />))
    const styleTags = sheet.getStyleElement()
    return { assets, data, ...page, styleTags};
  }
render() {
    const { helmet, assets, data, styleTags } = this.props;
    // get attributes from React Helmet
    const htmlAttrs = helmet.htmlAttributes.toComponent();
    const bodyAttrs = helmet.bodyAttributes.toComponent();
return (
      <html {...htmlAttrs}>
        <head>
          <meta httpEquiv="X-UA-Compatible" content="IE=edge" />
          <meta charSet="utf-8" />
          <title>Hi, Welcome to the Afterparty</title>
          <meta name="viewport" content="width=device-width, initial-scale=1" />
          {helmet.title.toComponent()}
          {helmet.meta.toComponent()}
          {helmet.link.toComponent()}
          {/** here is where we put our Styled Components styleTags... */}
          {styleTags}
        </head>
        <body {...bodyAttrs}>
          <AfterRoot />
          <AfterData data={data}/>
          <script
            type="text/javascript"
            src={assets.client.js}
            defer
            crossOrigin="anonymous"
          />
        </body>
      </html>
    );
  }
}
Step 4: Edit src/server.js
// ./src/server.js
import express from 'express';
import { render } from '@jaredpalmer/after';
import routes from './routes';
import MyDocument from './Document';
const assets = require(process.env.RAZZLE_ASSETS_MANIFEST);
const server = express();
server
  .disable('x-powered-by')
  .use(express.static(process.env.RAZZLE_PUBLIC_DIR))
  .get('/*', async (req, res) => {
    try {
      const html = await render({
        req,
        res,
        document: MyDocument,
        routes,
        assets,
        // Anything else you add here will be made available
        // within getInitialProps(ctx)
        // e.g a redux store...
        customThing: 'thing',
      });
      res.send(html);
    } catch (error) {
      console.error(error);
      res.json({ message: error.message, stack: error.stack });
    }
  });
export default server;
Step 5: Let’s edit examples/basic/src/home.js
// ./src/home.js
import React, { Component } from 'react';
import logo from './react.svg';
import { Link } from 'react-router-dom';
import styled from 'styled-components';
class Home extends Component {
  static async getInitialProps({ req, res, match, history, location, ...ctx }) {
    return { stuff: 'whatevs' };
  }
  render() {
    console.log(this.props);
    return (
        <SampleStyledComponent className="Home">
          <div className="Home-header">
            <img src={logo} className="Home-logo" alt="logo" />
            <div>Welcomse to After.js</div>
          </div>
          <p className="Home-intro">
            To get started, edit
            <code>src/Home.js</code> or <code>src/About.js</code>and save to
            reload.
          </p>
          <Link to="/about">About -></Link>
       </SampleStyledComponent>
    );
  }
}
export default Home;
const SampleStyledComponent = styled.div`
  color: red;
`;
Result: Test new CSS in http://localhost:3000/
Feel free to question in the comment section in case of an issue.
Reference:
https://github.com/jaredpalmer/after.js
Note: This article was previously published here